Recording the 360° video
Once the recording has been prepared, this forms the basis for effectively getting started with the 360° video camera. So it is already clear what needs to be present on the footage, but not yet how to ensure that the video is recorded correctly. Since the most efficient and effective way to do this will always differ from situation to situation, we offer an overview of the most important ‘tips and tricks’.
- Testing the 360° video camera: it sounds very obvious, but it is important to get some experience with your 360° video camera. So try to experiment a bit with the 360° video camera beforehand, so it becomes clear how it works and what the results are.
- Settings of the 360° camera: In order to smoothly work with the footage after recording (editing and enriching), we recommend to make the recording in 4K. This reduces the chance that the footage is constantly jammed during the play and still has a qualitative resolution. *If one has recorded in a higher resolution, it is still possible in the camera specific software to make an export to 4K.
- Positioning of the 360° video camera: think about the positioning of the 360° video camera in the environment. Despite the fact that this is always different for each environment and the purpose of recording, there are a number of standard tips that are important:
- in small rooms, it is often recommended to position the 360° video camera centrally, so that the distance from the viewing point to the walls is congruent in every field of view.
- Make sure that the 360° video camera is not too far away from the central object/person/action point/ … as a 360° video camera is less suitable for capturing detailed images that are far away from the shooting point. If this is not possible, it is important to take additional photos or 2D videos. This allows you to incorporate these in the 360°-video, using the Vivista Editor.
- When choosing to work with an expert who will explain certain processes or actions, it is important that these processes or actions remain visible. Position the 360° video camera in such a way that the expert does not block the visibility of the important aspects.
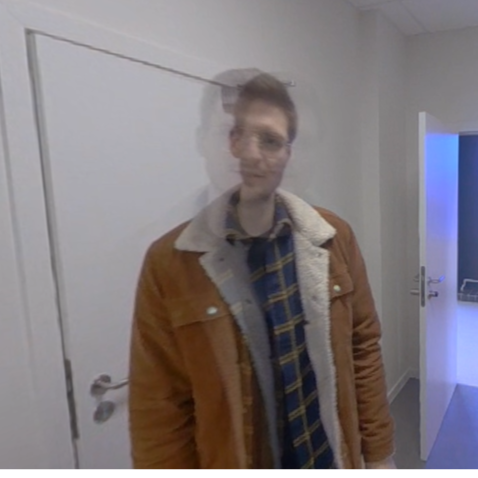
- Orientation of the lenses: avoid that the transition between the different lenses runs through central objects, otherwise they may become blurred when stitching the footage. Depending on the 360° video camera used, this may or may not be highly visible (the example below was filmed with the KanDao Obsidian Go). This can be prevented by focusing one of the lenses centrally to the most important viewing perspective, so that this is not affected by stitching.

- Stable footage: it is not enjoyable to look at footage that is constantly vibrating or unstable. For example, if one chooses to film with a selfie stick, this will be the case. Therefore, choose to work with a tripod which makes a stable shot easier. Which tripod to use depends again on the purpose of use. Tripods come in different types, shapes and sizes, each with their advantages and disadvantages:
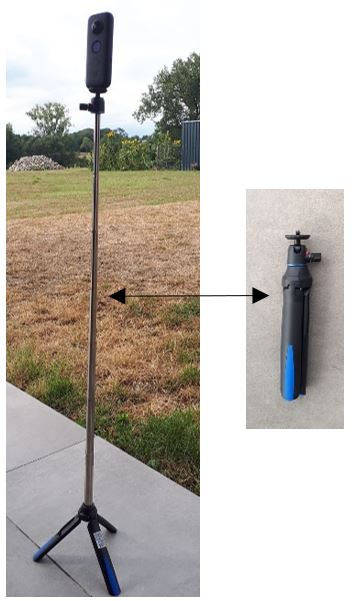
Small and light tripod

Advantages
- Compact
- Does not weigh much
- Easy to transport (both by car and in luggage on an airplane)
- Quick set up (< 1 minute)
- Cheaper
- Thanks to the ball joint you can, if necessary, place the camera at a certain angle.
Disadvantages
- Less stable than a larger and heavier variant. When this tripod is used outdoors, there is a danger that the wind will cause the tripod to fall over.
- The maximum height is rather limited, making it impossible to film at eye level. (Depending on the situation, this can be solved by placing the tripod for example on a table).
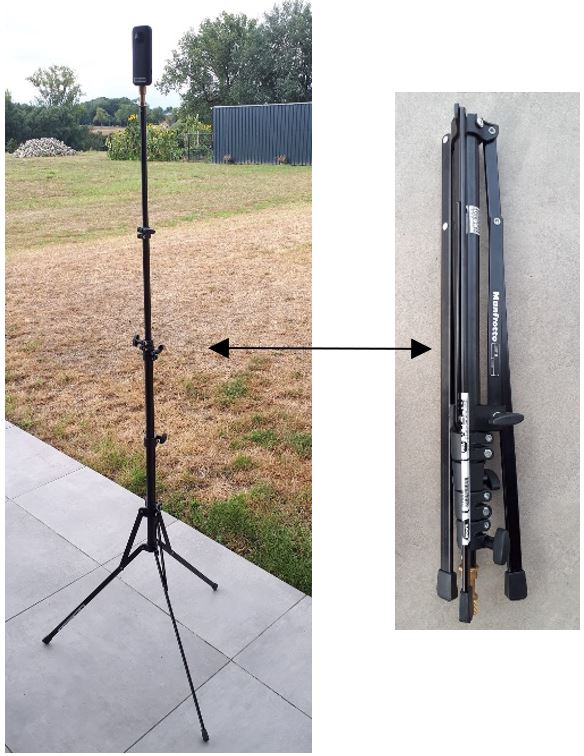
Rather large and heavier tripod

Advantages
- Stable
- The angle at which the support legs touch the ground, can be increased or decreased.
- Quick set up (< 1 minute.)
- Possibility to extend the different bars to more than 2 meters high.
- Relatively easy to transport (*not when travelling by plane)
Disadvantages
- Heavier in weight than a smaller version.
- Due to its size not ideal to take with you on a trip by plane. Moreover, the rules regarding tripods differ from airline to airline, so it is not always allowed to have them on board.
- More expensive to purchase than smaller and lighter variants.
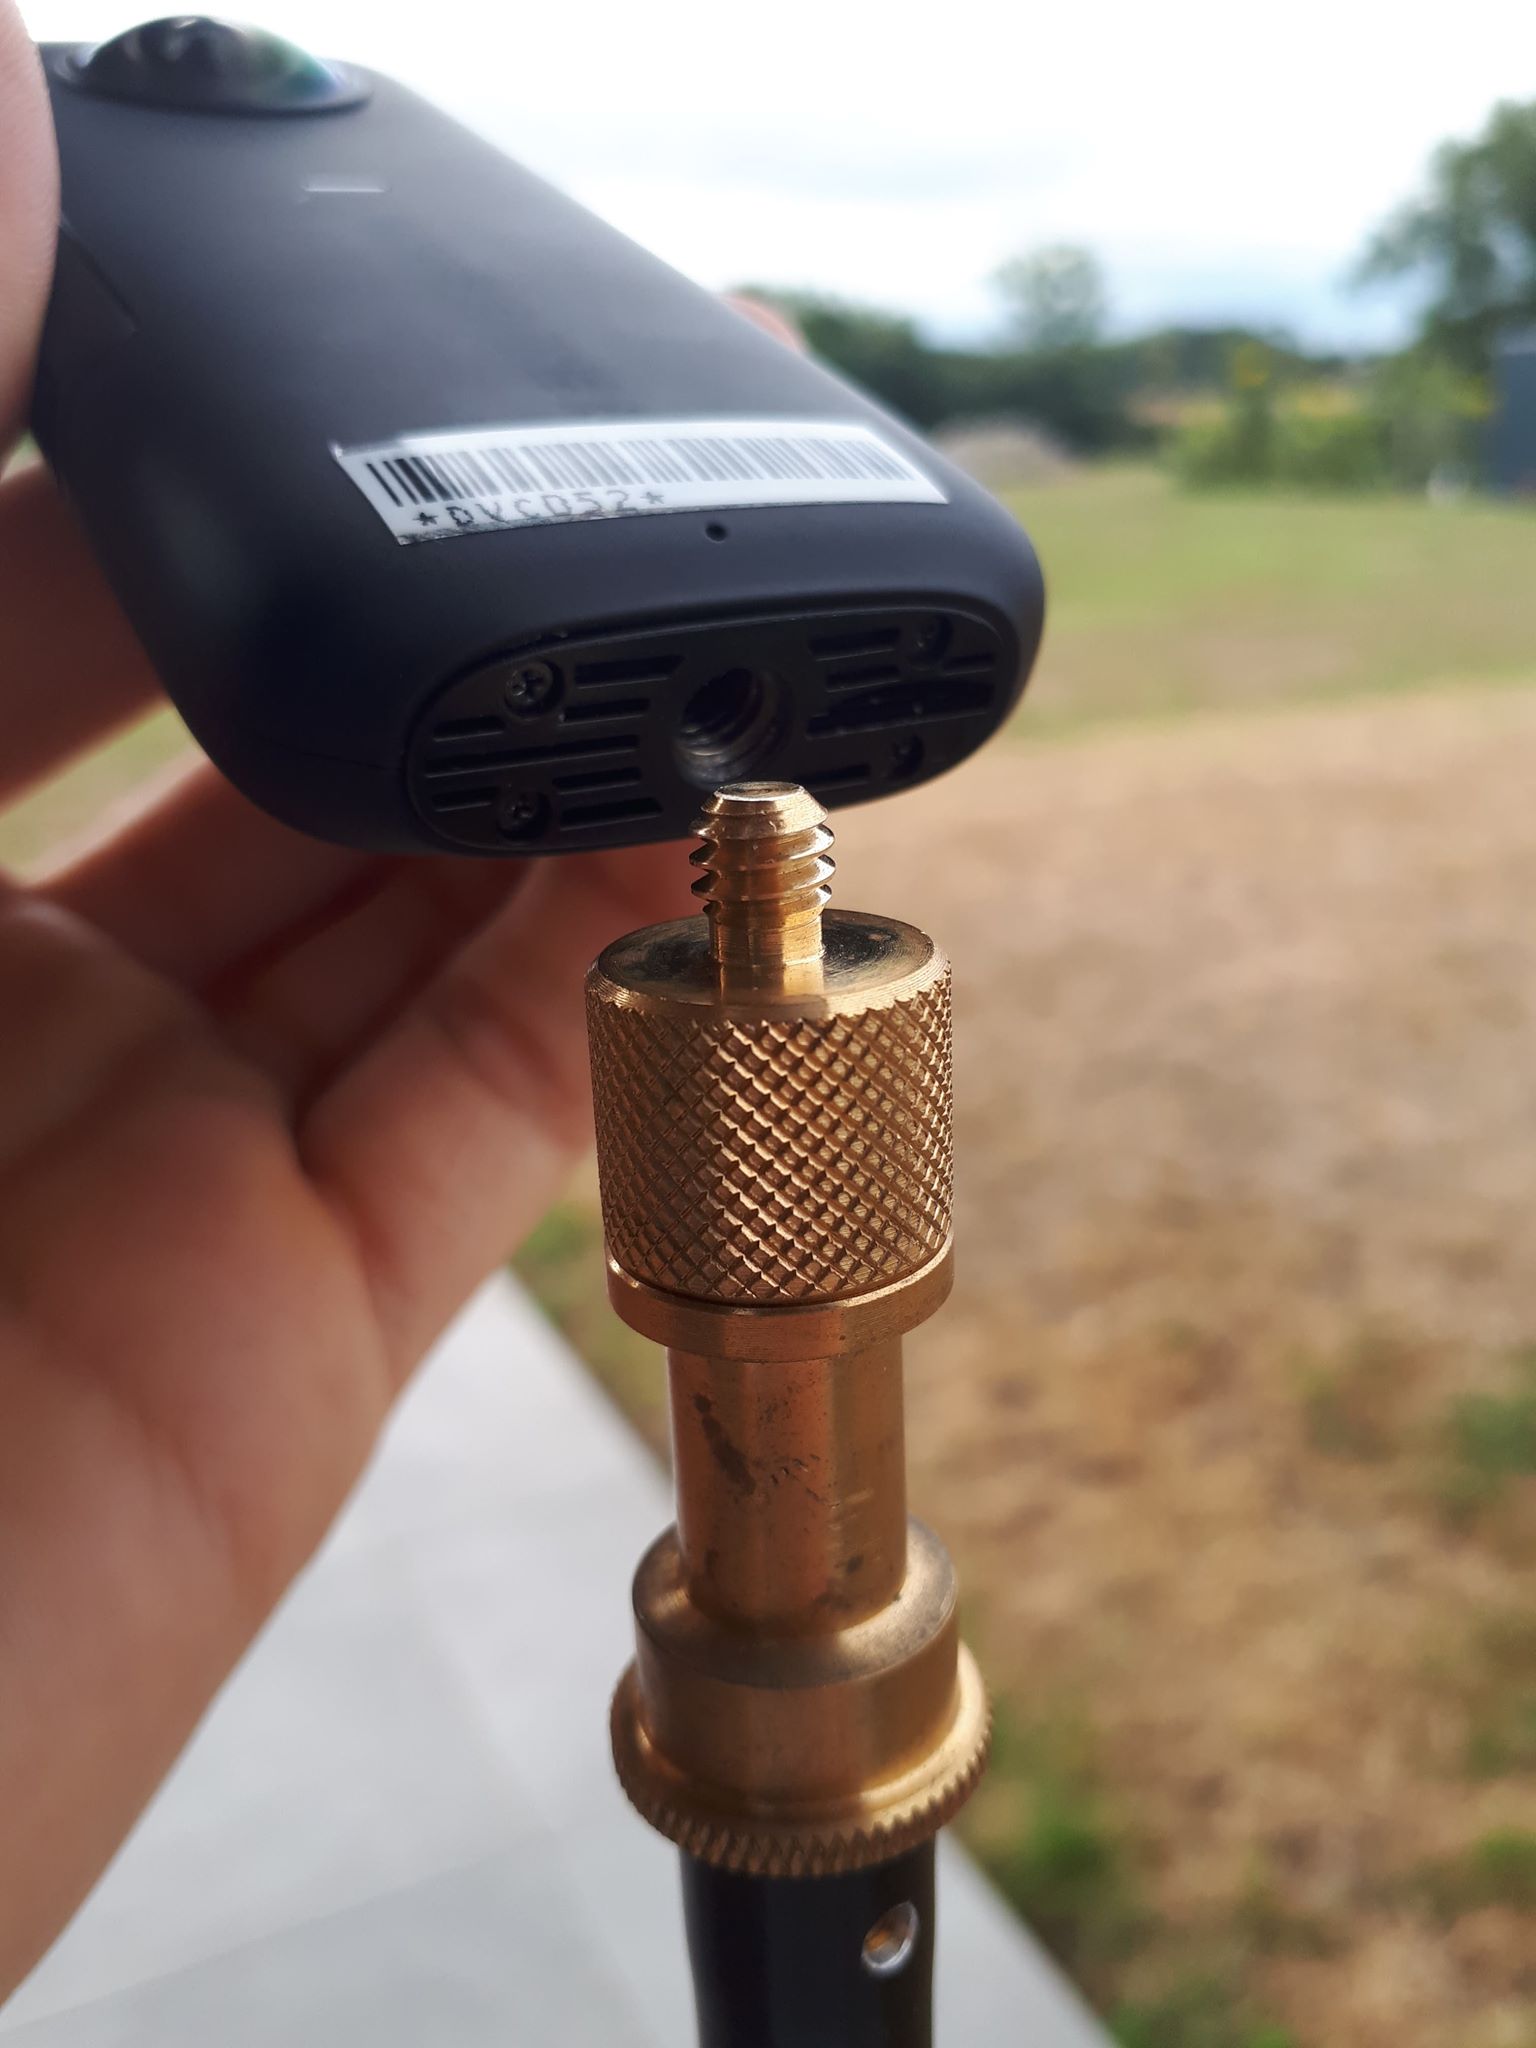
Finally, there are two more important points to consider when using a tripod. First, it is important to check whether the screw head of the tripod fits into the 360° video camera. It may be the case that another screw head is required, which must be purchased separately, but in most cases a standard size is used.

Secondly, the tripod will be visible when a user looks straight down. Therefore, a tripod with legs that open wide will be more visible than a tripod with legs that open less wide. If desired, depending on the camera specific software, an image can be placed over the tripod to hide it.

- Filming at eye level: preferably place the 360° video camera at eye level (±1m60), which will contribute to the authenticity and representativeness of the footage.
- Use a timer: setting a timer before the recording starts gives the camera operator time to hide, if he or she should not be visible. This allows you to save cutting work when editing the 360°-video.
- Lighting: Just as with a traditional 2D video, it is also important in a 360° video to take the lighting of the environment into account. If there is a lack of light, there is a risk that the colors will be recorded less brightly and/or that haze will be present in the footage. When filming in a building or room, one can often play with the lighting by switching the lights on or off. However, when one chooses to shoot outside, the sun is the only light source. Therefore, it is important to take the weather forecast into account and the time at which the recording will take place. For example, there will be more sunlight around noon than in the evening. A disadvantage of a 360° video camera is that you always film against the sun. It is not easy to see whether there is too little, enough or too much light, as most 360° video cameras do not have a screen on which it is possible to see the footage live. If possible, the use of the software application is a golden tip. This will show the footage live, allowing you to see whether or not there is enough light.
- Sound recording: most 360° video cameras already have a built-in microphone to record the sound of the environment. If one chooses to connect an external microphone to the 360° video camera anyway, it is important to think about the direction in which this microphone is placed. Suppose one would make a recording in a classroom and point an externally connected microphone forward. This would probably make the teacher clearly audible, but not the students at the back of the classroom. Therefore, choose to place the microphone as centrally as possible, preferably vertically up or down.
